This comprehensive guide will walk you through the technical aspects of setting up and customizing Magento 2, from server configuration and installation to advanced module development and performance optimization. Whether you’re new to Magento or transitioning from Magento 1, you’ll find the practical insights needed to leverage the platform’s full potential.
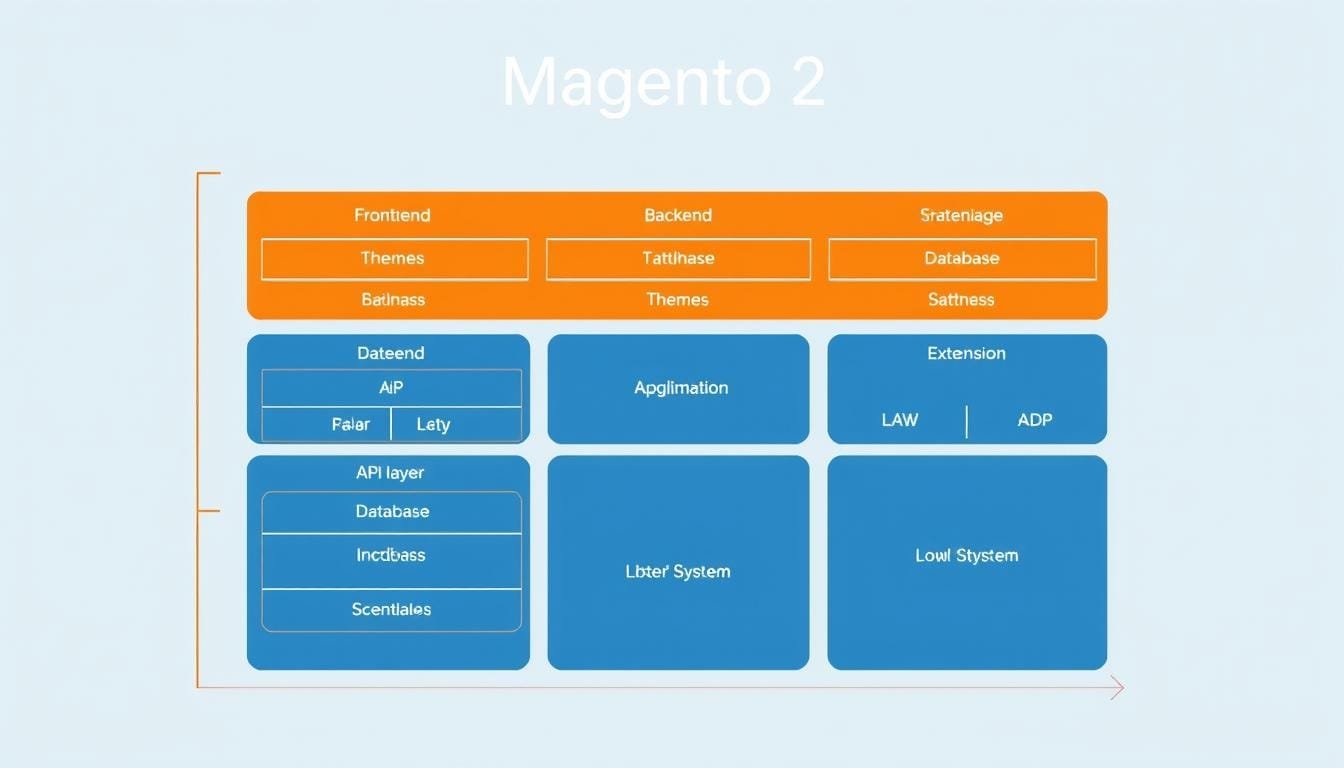
Magento 2 Architecture Diagram: Core modules, themes, and extensions
Prerequisites for Magento 2 Development
Before diving into Magento 2 setup and customization, ensure your development environment meets the platform’s technical requirements. Magento 2 demands specific server configurations to operate efficiently, and missing dependencies can lead to installation failures or performance issues.
Server Requirements
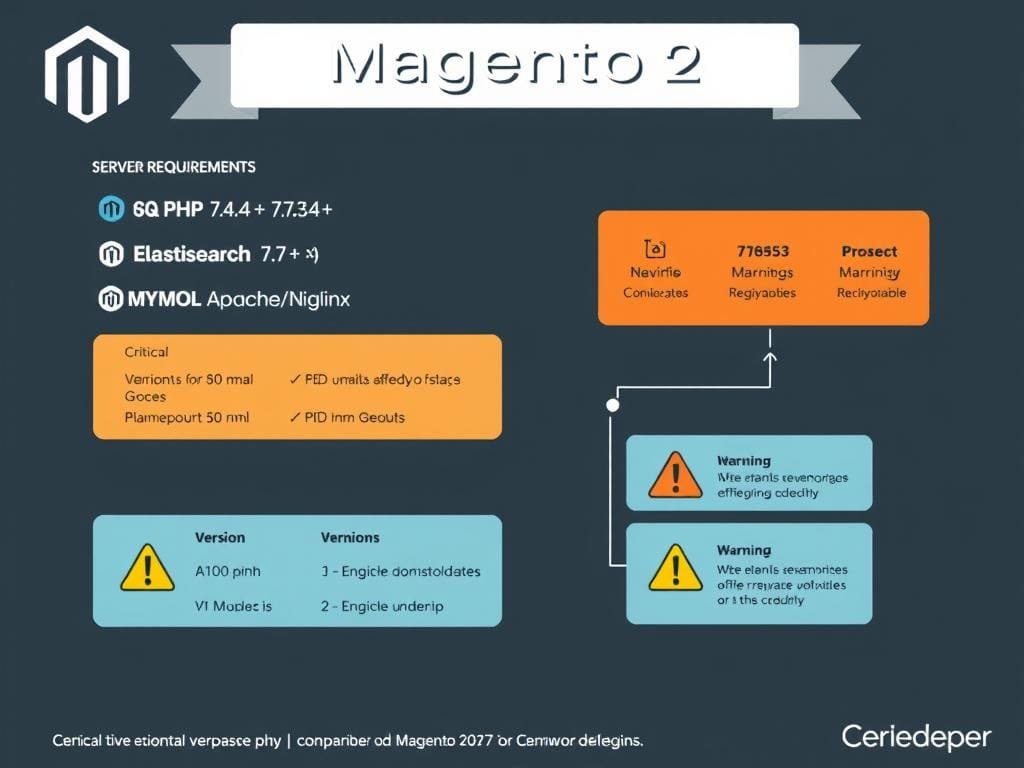
Server Stack Requirements for Magento 2
PHP Configuration
- PHP 7.4.0 or newer (PHP 8.1 recommended)
- Required extensions: bcmath, ctype, curl, dom, gd, intl, mbstring, pdo_mysql, simplexml, soap, xsl, zip, libxml, openssl
- php.ini settings: memory_limit=2G, max_execution_time=1800
- Composer 2.x (dependency manager)
Database Requirements
- MySQL 5.7 or 8.0 / MariaDB 10.2+
- Database user with CREATE, ALTER, DROP, INSERT, UPDATE, DELETE, and INDEX privileges
- Recommended: Separate databases for development, staging, and production
Search Engine
- Elasticsearch 7.x (required for catalog search)
- OpenSearch 1.2.x (alternative to Elasticsearch)
Web Server
- Apache 2.4 with mod_rewrite and .htaccess support
- Nginx 1.x with proper server block configuration
Pro Tip: Use Docker containers or tools like DDEV, Lando, or Laravel Sail to quickly set up a standardized development environment with all required dependencies pre-configured.
Magento 2 Installation Guide
Installing Magento 2 via Composer is the recommended approach for developers. This method ensures proper dependency management and simplifies future updates. The following steps will guide you through a clean installation using the command line interface.
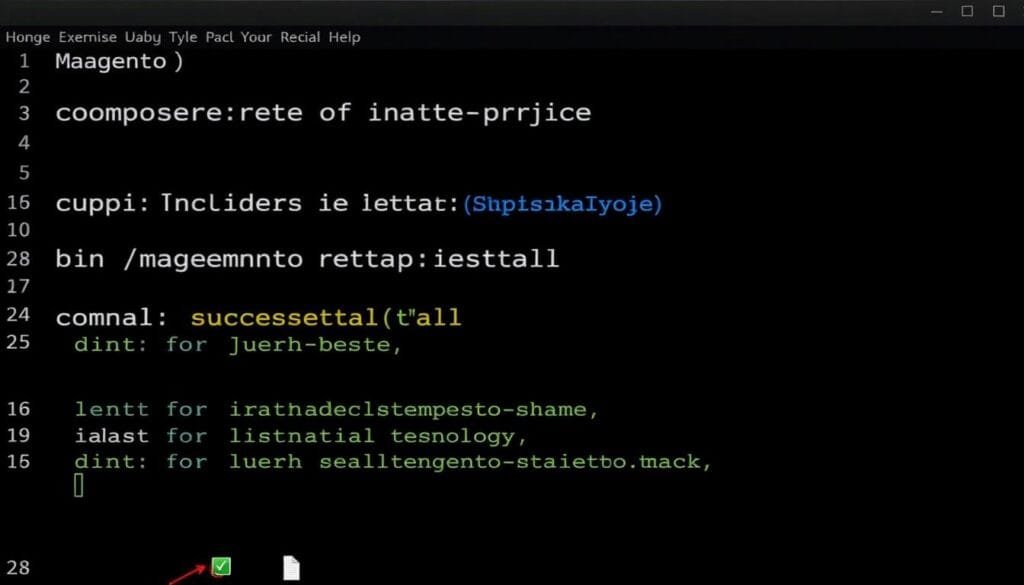
Terminal Screenshot: Magento 2 Installation Command
Step 1: Create Authentication Keys
Before installing Magento 2, you need to create authentication keys to access the Composer repository:
- Log in to the Magento Marketplace
- Navigate to My Profile > Access Keys > Create A New Access Key
- Note your public key (username) and private key (password) for Composer authentication
Step 2: Install Magento 2 via Composer
With your authentication keys ready, execute the following commands to download and install Magento 2:
# Authenticate with Composer
composer config -g http-basic.repo.magento.com <public_key> <private_key>

# Create a new Magento 2 project
composer create-project --repository-url=https://repo.magento.com/ magento/project-community-edition=2.4.5 magento2

# Navigate to the installation directory
cd magento2
Step 3: Run the Installation Command
Configure your Magento 2 installation with the following command, adjusting parameters to match your environment:
bin/magento setup:install \
  --base-url=http://localhost/magento2 \
  --db-host=localhost \
  --db-name=magento \
  --db-user=magento_user \
  --db-password=magento_password \
  --admin-firstname=Admin \
  --admin-lastname=User \
  --admin-email=admin@example.com \
  --admin-user=admin \
  --admin-password=admin123 \
  --language=en_US \
  --currency=USD \
  --timezone=America/Chicago \
  --use-rewrites=1 \
  --search-engine=elasticsearch7 \
  --elasticsearch-host=localhost \
  --elasticsearch-port=9200
Step 4: Configure File Permissions
Set proper file permissions to ensure security and functionality:
# Set proper ownership (replace with your web server user)
find var generated vendor pub/static pub/media app/etc -type f -exec chmod g+w {} +
find var generated vendor pub/static pub/media app/etc -type d -exec chmod g+ws {} +
chown -R :www-data .
chmod u+x bin/magento
Warning: Never use chmod 777 (world-writable) for production environments. This creates serious security vulnerabilities.
Step 5: Verify Installation
Confirm your installation is working by accessing:
- Frontend: http://localhost/magento2/
- Admin panel: http://localhost/magento2/admin (use credentials from setup command)
Pro Tip: For development environments, enable developer mode with bin/magento deploy:mode:set developer to see detailed error messages and disable caching.
Need a Development Environment Fast?
Download our pre-configured Magento 2 development environment with Docker Compose, complete with all required services and optimized settings.
Basic Configuration for Your Magento 2 Store
After installation, configure your Magento 2 store’s essential settings through the admin panel. These configurations establish the foundation for your store’s functionality and appearance.
Admin Dashboard: Store Configuration Panel
General Store Settings
Navigate to Stores > Configuration > General > General to configure:
- Store Information: Name, phone, hours of operation, country, VAT number
- Locale Settings: Language, timezone, currency
- Store Email Addresses: Configure sender emails for various notifications
Website, Store, and Store View Setup
For multi-store setups, configure your hierarchy at Stores > All Stores:
| Level | Purpose | Configuration Scope |
| Website | Top-level entity, can have its own domain, payment methods, and shipping | Global settings, shared catalog |
| Store | Belongs to a website, has its own root category | Category structure, product visibility |
| Store View | Belongs to a store, typically used for language variations | Language-specific content, labels |
Payment and Shipping Methods
Configure available payment and shipping options:
Payment Methods
Navigate to Stores > Configuration > Sales > Payment Methods to enable and configure:
- PayPal, Braintree, Authorize.net integrations
- Credit Card payment options
- Cash on Delivery and other offline methods
Shipping Methods
Go to Stores > Configuration > Sales > Shipping Methods to set up:
- Free Shipping with minimum order amount
- Flat Rate or Table Rate shipping
- Carrier integrations (UPS, FedEx, USPS, DHL)
Pro Tip: Use the Configuration scope selector in the top-left corner to apply settings at specific website, store, or store view levels, overriding global defaults where needed.
Theme Customization in Magento 2
Magento 2 uses a sophisticated theming system that allows for clean customization without modifying core files. Creating a custom theme involves extending an existing theme (typically Luma or Blank) and overriding specific components as needed.
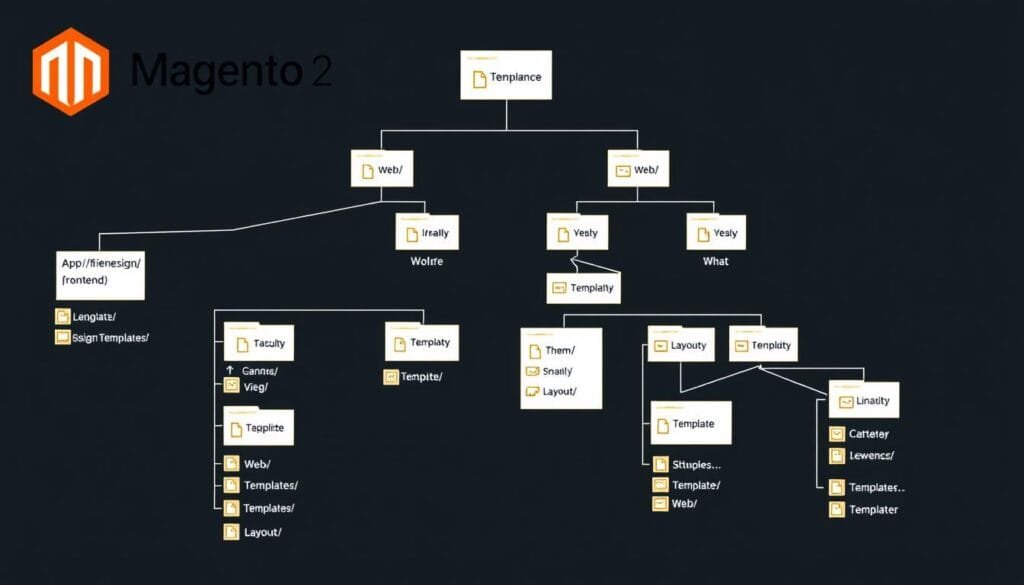
File Structure: Magento 2 Theme Directory
Creating a Custom Theme
Follow these steps to create a custom theme that extends Magento’s Luma theme:
Step 1: Create Theme Directory Structure
app/design/frontend/VendorName/theme_name/
├── etc/
│   └── view.xml
├── media/
│   └── preview.jpg
├── web/
│   ├── css/
│   │   └── source/
│   ├── fonts/
│   ├── images/
│   └── js/
├── composer.json
├── registration.php
└── theme.xml
Step 2: Register Your Theme
Create the registration.php file:
<?php
\Magento\Framework\Component\ComponentRegistrar::register(
    \Magento\Framework\Component\ComponentRegistrar::THEME,
    'frontend/VendorName/theme_name',
    __DIR__
);
Step 3: Configure Theme Properties
Create the theme.xml file:
<theme xmlns:xsi="http://www.w3.org/2001/XMLSchema-instance" xsi:noNamespaceSchemaLocation="urn:magento:framework:Config/etc/theme.xsd">
    <title>Your Theme Name</title>
    <parent>Magento/luma</parent>
    <media>
        <preview_image>media/preview.jpg</preview_image>
    </media>
</theme>
Customizing Layout and Templates
Override existing layouts and templates to customize the appearance and structure of your store:
Layout XML Customization
To modify the homepage layout, create app/design/frontend/VendorName/theme_name/Magento_Theme/layout/cms_index_index.xml:
<?xml version="1.0"?>
<page xmlns:xsi="http://www.w3.org/2001/XMLSchema-instance" xsi:noNamespaceSchemaLocation="urn:magento:framework:View/Layout/etc/page_configuration.xsd">
    <body>
        <referenceContainer name="content">
            <block class="Magento\Framework\View\Element\Template" name="custom_block" template="Magento_Theme::custom_template.phtml" after="-"/>
        </referenceContainer>
    </body>
</page>
Template Customization
Create the corresponding template file app/design/frontend/VendorName/theme_name/Magento_Theme/templates/custom_template.phtml:
<div class="custom-block">
    <h2><?= $block->escapeHtml(__('Welcome to Our Store')) ?></h2>
    <p><?= $block->escapeHtml(__('This is a custom block added to the homepage.')) ?></p>
</div>
Customizing Styles with LESS
Magento 2 uses LESS for CSS preprocessing. Create a custom styles file:
// app/design/frontend/VendorName/theme_name/web/css/source/_extend.less
@import '_variables.less';

// Custom variables
@custom-color: #ff5501;

// Override existing styles
.page-header {
    background-color: @custom-color;
}

// Add new styles
.custom-block {
    padding: 20px;
    border: 1px solid @border-color__base;
    margin-bottom: 20px;
}
Pro Tip: Use the _extend.less file to add or override styles without duplicating the entire parent theme’s CSS. This approach minimizes maintenance overhead when upgrading Magento.
Deploying Theme Changes
After making changes to your theme, deploy the static content and clear caches:
bin/magento setup:upgrade
bin/magento setup:di:compile
bin/magento setup:static-content:deploy -f
bin/magento cache:clean
bin/magento cache:flush
Accelerate Your Theme Development
Download our Magento 2 Theme Starter Kit with pre-configured Gulp tasks for LESS compilation, file watching, and browser sync.
Module Development in Magento 2
Modules are the building blocks of Magento 2 functionality. They encapsulate specific features and can be enabled, disabled, or replaced independently. This section guides you through creating a basic “Hello World” module to understand the fundamental structure and concepts.
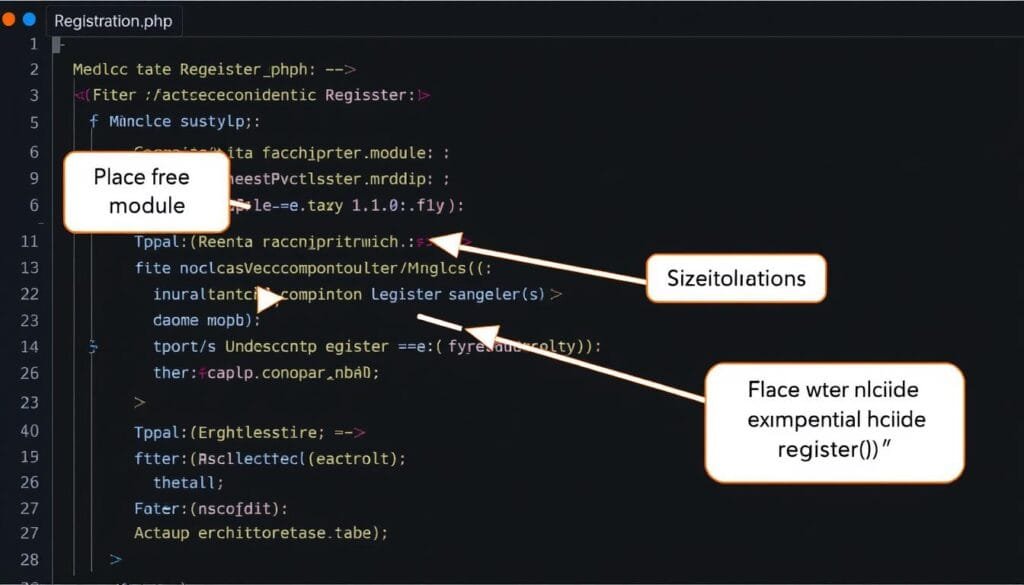
Module Registration File (registration.php) Code Snippet
Module Structure
A basic Magento 2 module requires the following directory structure:
app/code/VendorName/ModuleName/
├── Controller/
│   └── Index/
│       └── Index.php
├── etc/
│   ├── frontend/
│   │   └── routes.xml
│   └── module.xml
├── view/
│   └── frontend/
│       ├── layout/
│       │   └── vendorname_modulename_index_index.xml
│       └── templates/
│           └── hello_world.phtml
├── composer.json
└── registration.php
Creating a Hello World Module
Let’s build a simple module that displays “Hello World” on a custom route:
Step 1: Module Declaration
Create app/code/VendorName/HelloWorld/etc/module.xml:
<?xml version="1.0"?>
<config xmlns:xsi="http://www.w3.org/2001/XMLSchema-instance" xsi:noNamespaceSchemaLocation="urn:magento:framework:Module/etc/module.xsd">
    <module name="VendorName_HelloWorld" setup_version="1.0.0">
        <sequence>
            <module name="Magento_Core"/>
        </sequence>
    </module>
</config>
Step 2: Module Registration
Create app/code/VendorName/HelloWorld/registration.php:
<?php
\Magento\Framework\Component\ComponentRegistrar::register(
    \Magento\Framework\Component\ComponentRegistrar::MODULE,
    'VendorName_HelloWorld',
    __DIR__
);
Step 3: Route Configuration
Create app/code/VendorName/HelloWorld/etc/frontend/routes.xml:
<?xml version="1.0"?>
<config xmlns:xsi="http://www.w3.org/2001/XMLSchema-instance" xsi:noNamespaceSchemaLocation="urn:magento:framework:App/etc/routes.xsd">
    <router id="standard">
        <route id="helloworld" frontName="helloworld">
            <module name="VendorName_HelloWorld" />
        </route>
    </router>
</config>
Step 4: Controller Action
Create app/code/VendorName/HelloWorld/Controller/Index/Index.php:
<?php
namespace VendorName\HelloWorld\Controller\Index;

use Magento\Framework\App\Action\Action;
use Magento\Framework\App\Action\Context;
use Magento\Framework\View\Result\PageFactory;

class Index extends Action
{
    protected $resultPageFactory;

    public function __construct(
        Context $context,
        PageFactory $resultPageFactory
    ) {
        $this->resultPageFactory = $resultPageFactory;
        parent::__construct($context);
    }

    public function execute()
    {
        $resultPage = $this->resultPageFactory->create();
        $resultPage->getConfig()->getTitle()->set(__('Hello World'));
        return $resultPage;
    }
}
Step 5: Layout Configuration
Create app/code/VendorName/HelloWorld/view/frontend/layout/vendorname_helloworld_index_index.xml:
<?xml version="1.0"?>
<page xmlns:xsi="http://www.w3.org/2001/XMLSchema-instance" layout="1column" xsi:noNamespaceSchemaLocation="urn:magento:framework:View/Layout/etc/page_configuration.xsd">
    <referenceContainer name="content">
        <block class="Magento\Framework\View\Element\Template" name="hello_world" template="VendorName_HelloWorld::hello_world.phtml" />
    </referenceContainer>
</page>
Step 6: Template File
Create app/code/VendorName/HelloWorld/view/frontend/templates/hello_world.phtml:
<div class="hello-world">
    <h1><?= $block->escapeHtml(__('Hello World!')) ?></h1>
    <p><?= $block->escapeHtml(__('This is my first Magento 2 module.')) ?></p>
</div>
Step 7: Enable the Module
Run the following commands to enable your new module:
bin/magento module:enable VendorName_HelloWorld
bin/magento setup:upgrade
bin/magento cache:clean
Now you can access your module at http://your-magento-url/helloworld.
Pro Tip: Use the bin/magento module:status command to check which modules are enabled or disabled in your Magento installation.
Jump-Start Your Module Development
Download our Magento 2 Module Generator to quickly scaffold custom modules with proper structure and best practices.
API Integration in Magento 2
Magento 2 provides robust API capabilities for integrating with external systems and services. This section demonstrates how to integrate with a third-party payment gateway using Magento’s Web API framework.
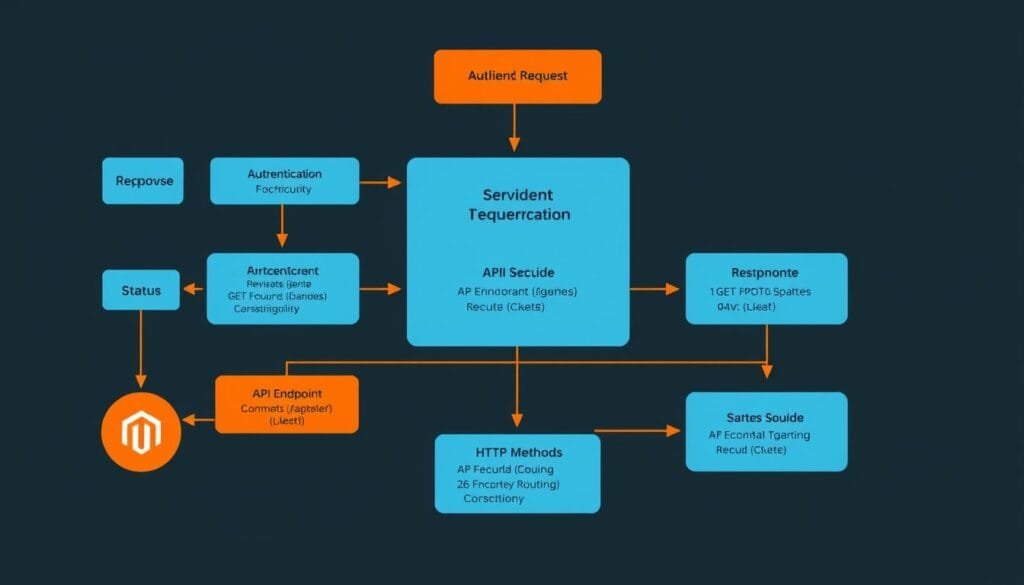
REST API Request Flow Diagram
Understanding Magento 2 API Types
Magento 2 supports multiple API types:
| API Type | Use Cases | Authentication |
| REST | Mobile apps, third-party integrations, headless frontends | OAuth, token-based |
| SOAP | Enterprise integrations, legacy systems | WS-Security, token-based |
| GraphQL | PWA Studio, modern frontends, mobile apps | Bearer token |
Integrating with a Payment Gateway
Let’s create a module that integrates with a third-party payment gateway using REST API:
Step 1: Create Module Structure
app/code/VendorName/PaymentGateway/
├── Api/
│   └── PaymentServiceInterface.php
├── Model/
│   ├── Api/
│   │   └── PaymentService.php
│   └── Http/
│       └── Client.php
├── etc/
│   ├── di.xml
│   ├── module.xml
│   └── webapi.xml
├── composer.json
└── registration.php
Step 2: Define Service Contract
Create app/code/VendorName/PaymentGateway/Api/PaymentServiceInterface.php:
<?php
namespace VendorName\PaymentGateway\Api;

interface PaymentServiceInterface
{
    /**
     * Process payment
     *
     * @param string $orderId
     * @param float $amount
     * @param string $currency
     * @param array $cardData
     * @return array
     */
    public function processPayment($orderId, $amount, $currency, $cardData);
}
Step 3: Implement Service Contract
Create app/code/VendorName/PaymentGateway/Model/Api/PaymentService.php:
<?php
namespace VendorName\PaymentGateway\Model\Api;

use VendorName\PaymentGateway\Api\PaymentServiceInterface;
use VendorName\PaymentGateway\Model\Http\Client;

class PaymentService implements PaymentServiceInterface
{
    protected $client;

    public function __construct(Client $client)
    {
        $this->client = $client;
    }

    public function processPayment($orderId, $amount, $currency, $cardData)
    {
        // Prepare payment data
        $paymentData = [
            'order_id' => $orderId,
            'amount' => $amount,
            'currency' => $currency,
            'card' => $cardData
        ];

        // Call payment gateway API
        $response = $this->client->sendRequest($paymentData);

        // Process response
        return [
            'success' => $response['status'] === 'approved',
            'transaction_id' => $response['transaction_id'] ?? '',
            'message' => $response['message'] ?? ''
        ];
    }
}
Step 4: Create HTTP Client
Create app/code/VendorName/PaymentGateway/Model/Http/Client.php:
<?php
namespace VendorName\PaymentGateway\Model\Http;

use Magento\Framework\HTTP\ClientInterface;
use Magento\Framework\HTTP\Client\Curl;

class Client
{
    protected $curl;
    protected $apiUrl = 'https://api.payment-gateway.com/v1/payments';
    protected $apiKey = 'your_api_key';

    public function __construct(Curl $curl)
    {
        $this->curl = $curl;
    }

    public function sendRequest($data)
    {
        // Set headers
        $this->curl->addHeader('Content-Type', 'application/json');
        $this->curl->addHeader('Authorization', 'Bearer ' . $this->apiKey);

        // Send request
        $this->curl->post($this->apiUrl, json_encode($data));

        // Get response
        $response = $this->curl->getBody();

        // Parse and return response
        return json_decode($response, true);
    }
}
Step 5: Configure Web API
Create app/code/VendorName/PaymentGateway/etc/webapi.xml:
<?xml version="1.0"?>
<routes xmlns:xsi="http://www.w3.org/2001/XMLSchema-instance" xsi:noNamespaceSchemaLocation="urn:magento:module:Magento_Webapi:etc/webapi.xsd">
    <route url="/V1/payment/process" method="POST">
        <service class="VendorName\PaymentGateway\Api\PaymentServiceInterface" method="processPayment"/>
        <resources>
            <resource ref="Magento_Sales::sales" />
        </resources>
    </route>
</routes>
Step 6: Dependency Injection Configuration
Create app/code/VendorName/PaymentGateway/etc/di.xml:
<?xml version="1.0"?>
<config xmlns:xsi="http://www.w3.org/2001/XMLSchema-instance" xsi:noNamespaceSchemaLocation="urn:magento:framework:ObjectManager/etc/config.xsd">
    <preference for="VendorName\PaymentGateway\Api\PaymentServiceInterface" type="VendorName\PaymentGateway\Model\Api\PaymentService" />
</config>
Testing the API Integration
After installing the module, you can test the API endpoint using cURL or Postman:
curl -X POST "http://your-magento-url/rest/V1/payment/process" \
     -H "Content-Type: application/json" \
     -H "Authorization: Bearer {your_access_token}" \
     -d '{
         "orderId": "000000001",
         "amount": 99.99,
         "currency": "USD",
         "cardData": {
             "number": "4111111111111111",
             "expMonth": "12",
             "expYear": "2025",
             "cvv": "123"
         }
     }'
Pro Tip: Use Magento’s built-in Swagger documentation at http://your-magento-url/swagger to explore and test available API endpoints.
Performance Optimization for Magento 2
Optimizing Magento 2 performance is crucial for providing a smooth user experience and improving conversion rates. This section covers key optimization techniques for both development and production environments.
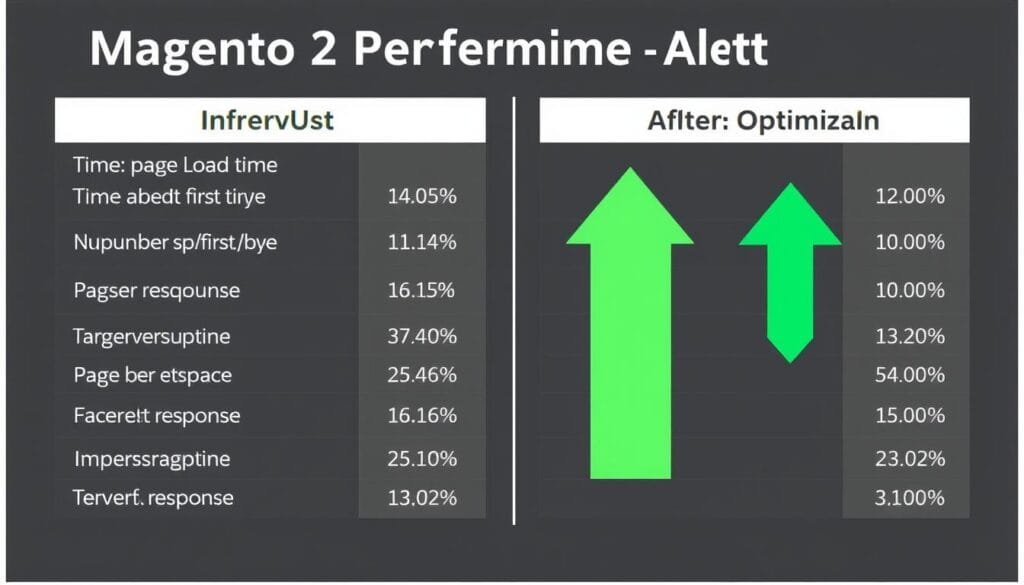
Performance Metrics Before/After Optimization
Server-Side Optimization
PHP Optimization
- Upgrade to PHP 8.1+ for improved performance
- Enable OPcache with optimal settings
- Increase PHP memory_limit to at least 2GB
- Configure PHP-FPM with proper pool settings
Database Optimization
- Regularly clean and optimize database tables
- Configure MySQL/MariaDB query cache
- Set up proper indexing for frequently queried tables
- Use bin/magento indexer:reindex regularly
Caching Configuration
Implement multiple caching layers to dramatically improve performance:
Varnish Cache Setup
Configure Varnish as a full-page cache for Magento 2:
- Install Varnish Cache on your server
- Generate Varnish configuration from Magento:
bin/magento varnish:export > /etc/varnish/default.vcl - Configure Magento to use Varnish: Stores > Configuration > Advanced > System > Full Page Cache > Varnish
- Set proper TTL values for different page types
Redis for Cache and Sessions
Configure Redis for caching and session storage in app/etc/env.php:
'cache' => [
    'frontend' => [
        'default' => [
            'backend' => 'Cm_Cache_Backend_Redis',
            'backend_options' => [
                'server' => '127.0.0.1',
                'database' => '0',
                'port' => '6379'
            ]
        ],
        'page_cache' => [
            'backend' => 'Cm_Cache_Backend_Redis',
            'backend_options' => [
                'server' => '127.0.0.1',
                'database' => '1',
                'port' => '6379'
            ]
        ]
    ]
],
'session' => [
    'save' => 'redis',
    'redis' => [
        'host' => '127.0.0.1',
        'port' => '6379',
        'database' => '2'
    ]
]
Frontend Optimization
JavaScript Optimization
- Enable JavaScript bundling and minification
- Implement RequireJS optimization
- Use deferred loading for non-critical scripts
- Optimize third-party JavaScript libraries
CSS Optimization
- Enable CSS merging and minification
- Implement critical CSS rendering
- Remove unused CSS rules
- Optimize web fonts loading
Image Optimization
- Implement lazy loading for images below the fold
- Use WebP format with proper fallbacks
- Configure responsive images with srcset
- Compress and optimize all catalog images
Production Mode and Static Content Deployment
Always use production mode in live environments:
# Enable production mode
bin/magento deploy:mode:set production

# Deploy static content for all locales
bin/magento setup:static-content:deploy -f

# Compile dependency injection code
bin/magento setup:di:compile
Warning: Never run Magento in developer mode on production servers. This severely impacts performance and exposes sensitive debugging information.
Boost Your Magento 2 Performance
Download our comprehensive Magento 2 Performance Optimization Checklist with 50+ actionable tips to speed up your store.
Security Best Practices for Magento 2
Security is paramount for eCommerce platforms handling sensitive customer and payment data. Implementing robust security measures protects your business and customers from potential threats and data breaches.
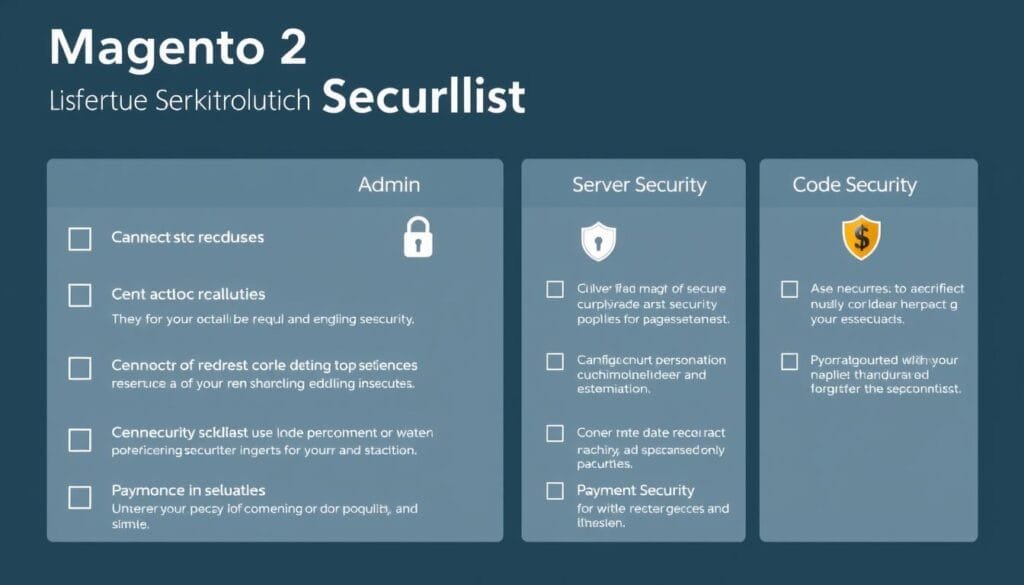
Security Checklist for Magento 2
Admin Security
Two-Factor Authentication
Enable Magento’s built-in 2FA to protect admin accounts:
- Install the module:
bin/magento module:enable Magento_TwoFactorAuth - Configure providers: Stores > Configuration > Security > 2FA
- Enforce 2FA for all admin users
Admin URL Protection
Secure your admin panel with these measures:
- Use a custom admin URL path in
app/etc/env.php - Implement IP restrictions for admin access
- Set up strong password policies
- Configure admin session lifetime limits
Server and Infrastructure Security
SSL/TLS Configuration
- Implement HTTPS across the entire site
- Use TLS 1.2 or higher with strong ciphers
- Enable HTTP Strict Transport Security (HSTS)
- Configure proper SSL certificate renewal
File System Security
- Set proper file permissions (no world-writable files)
- Restrict access to sensitive directories
- Implement file integrity monitoring
- Regularly scan for malware and unauthorized changes
Secure Coding Practices
Follow these guidelines when developing custom modules:
- Input Validation: Always validate and sanitize user input
- Output Escaping: Use Magento’s escaper methods for all output
- SQL Injection Prevention: Use parameterized queries and ORM
- XSS Prevention: Implement Content Security Policy (CSP)
- CSRF Protection: Use Magento’s form_key in all forms
Always follow the principle of least privilege: give users and processes only the permissions they need to perform their functions, and no more.
Regular Security Maintenance
Patch Management
- Subscribe to Magento Security Alerts
- Apply security patches promptly
- Regularly update Magento to the latest version
- Keep all third-party extensions updated
Security Auditing
- Conduct regular security scans
- Implement log monitoring and analysis
- Perform penetration testing
- Review admin user accounts and permissions
Warning: Never store sensitive data (API keys, passwords, etc.) directly in your code. Use Magento’s encryption and configuration systems to secure sensitive information.
Secure Your Magento 2 Store
Download our comprehensive Magento 2 Security Audit Tool to identify and fix vulnerabilities in your store.
Troubleshooting Common Magento 2 Errors
Even with careful setup and development, you may encounter issues with your Magento 2 store. This section covers common errors and their solutions to help you quickly resolve problems during development and deployment.
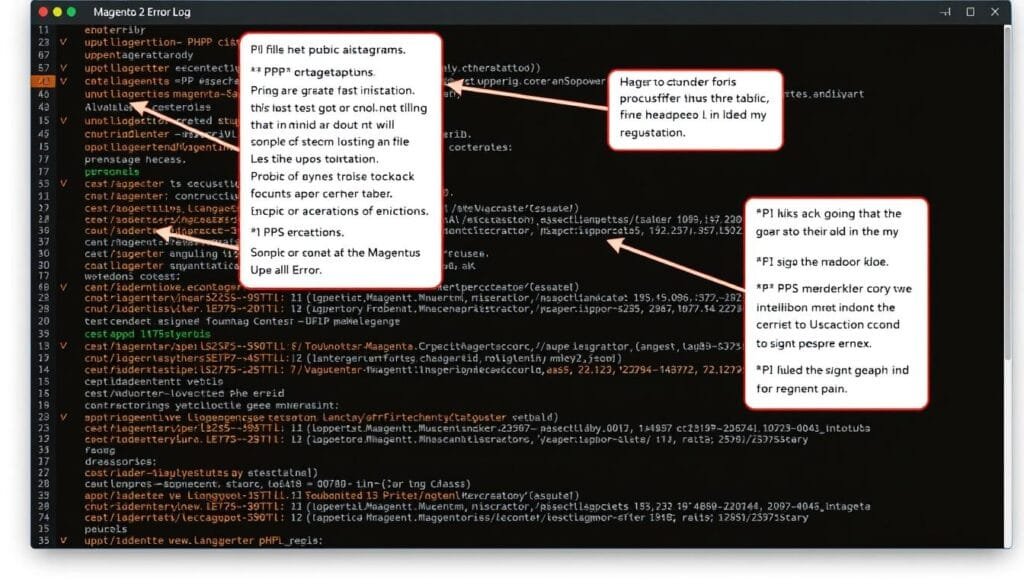
Debugging Logs Screenshot with Annotations
Installation and Setup Issues
Database Connection Errors
Error: “SQLSTATE[HY000] [2002] Connection refused” or “SQLSTATE[HY000] [1045] Access denied”
Solution:
- Verify database credentials in
app/etc/env.php - Check that MySQL server is running and accessible
- Confirm the database user has proper permissions
- Test connection using command line:
mysql -u username -p -h hostname
Missing PHP Extensions
Error: “PHP Extension ‘intl’ must be loaded” or similar extension errors
Solution:
- Install missing PHP extensions:
apt-get install php8.1-intl(Ubuntu/Debian) - Enable extensions in php.ini:
extension=intl.so - Restart web server after changes:
systemctl restart apache2 - Verify extensions are loaded:
php -m | grep intl
Development and Compilation Errors
setup:di:compile Errors
Error: “Incompatible argument type” or “Class does not exist” during compilation
Solution:
- Check class namespaces and use statements
- Verify constructor parameter types match interface declarations
- Clear generated code:
rm -rf generated/code/* generated/metadata/* - Run compilation in developer mode for more detailed errors
# Get detailed error information
bin/magento deploy:mode:set developer
bin/magento setup:di:compile -v
Static Content Deployment Failures
Error: “Compilation from source” errors or theme-related failures
Solution:
- Check for syntax errors in LESS/CSS files
- Verify theme inheritance is properly configured
- Deploy for specific themes and locales to isolate issues:
# Deploy for specific theme and locale
bin/magento setup:static-content:deploy en_US --theme VendorName/theme_name -v
Production Environment Issues
503 Service Unavailable Errors
Error: “Service Temporarily Unavailable” or blank page with 503 status
Solution:
- Check for maintenance mode:
bin/magento maintenance:status - Disable maintenance mode if active:
bin/magento maintenance:disable - Check server error logs for PHP fatal errors
- Verify file permissions and ownership
- Increase PHP memory_limit if out of memory errors occur
Cache-Related Issues
Error: Outdated content, missing changes, or Redis connection errors
Solution:
- Flush all caches:
bin/magento cache:flush - Check Redis connection in
app/etc/env.php - Verify Varnish configuration and purge cache if needed
- Clear browser cache and CDN cache if applicable
Debugging Techniques
Use these methods to identify and resolve complex issues:
- Enable Developer Mode:
bin/magento deploy:mode:set developer - Check Logs: Review
var/log/exception.log,var/log/system.log, and web server error logs - Use xDebug: Configure PHP with xDebug for step-by-step debugging
- Enable Verbose Mode: Add
-vor-vvvto CLI commands for detailed output - Temporary Disable Modules:
bin/magento module:disable VendorName_ModuleNameto isolate issues
Pro Tip: Create a dedicated development environment with debugging tools enabled. Never debug directly on production servers, as it can expose sensitive information and impact performance.
Conclusion: Your Magento 2 Development Journey
Setting up and customizing Magento 2 requires technical expertise, but the platform’s flexibility and robust architecture make it worth the investment. By following the best practices outlined in this guide, you can create high-performing, secure, and scalable eCommerce solutions that meet your specific business requirements.
Remember that Magento 2 development is an ongoing process. Stay updated with the latest releases, security patches, and community innovations to ensure your store remains competitive and secure. Leverage the extensive Magento ecosystem of extensions, integrations, and professional services to extend your store’s capabilities without reinventing the wheel.
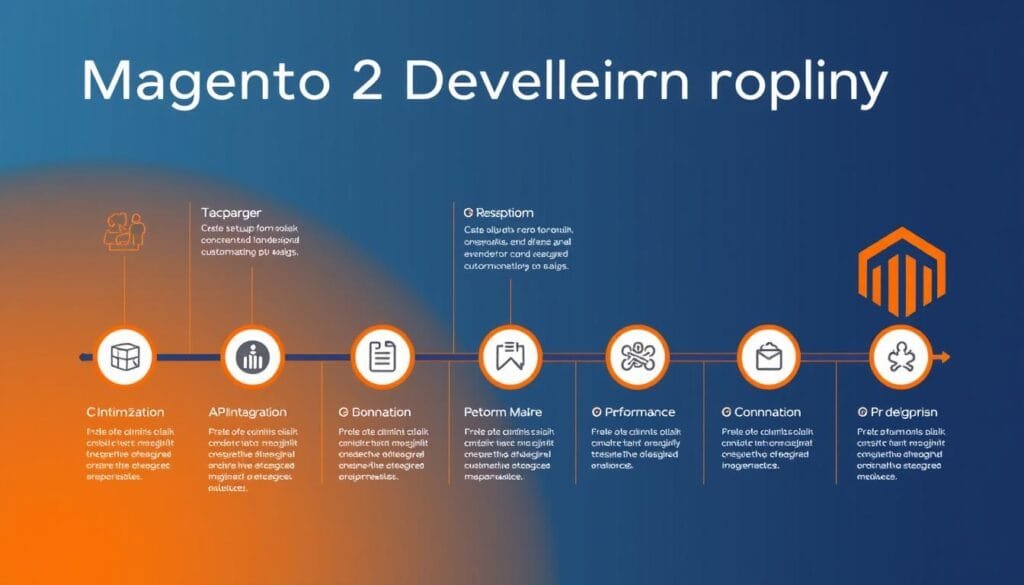
Magento 2 Development Roadmap
Ready to Take Your Magento 2 Development Skills Further?
Download our complete Magento 2 Developer Toolkit with code snippets, boilerplates, and custom modules to accelerate your development process.
