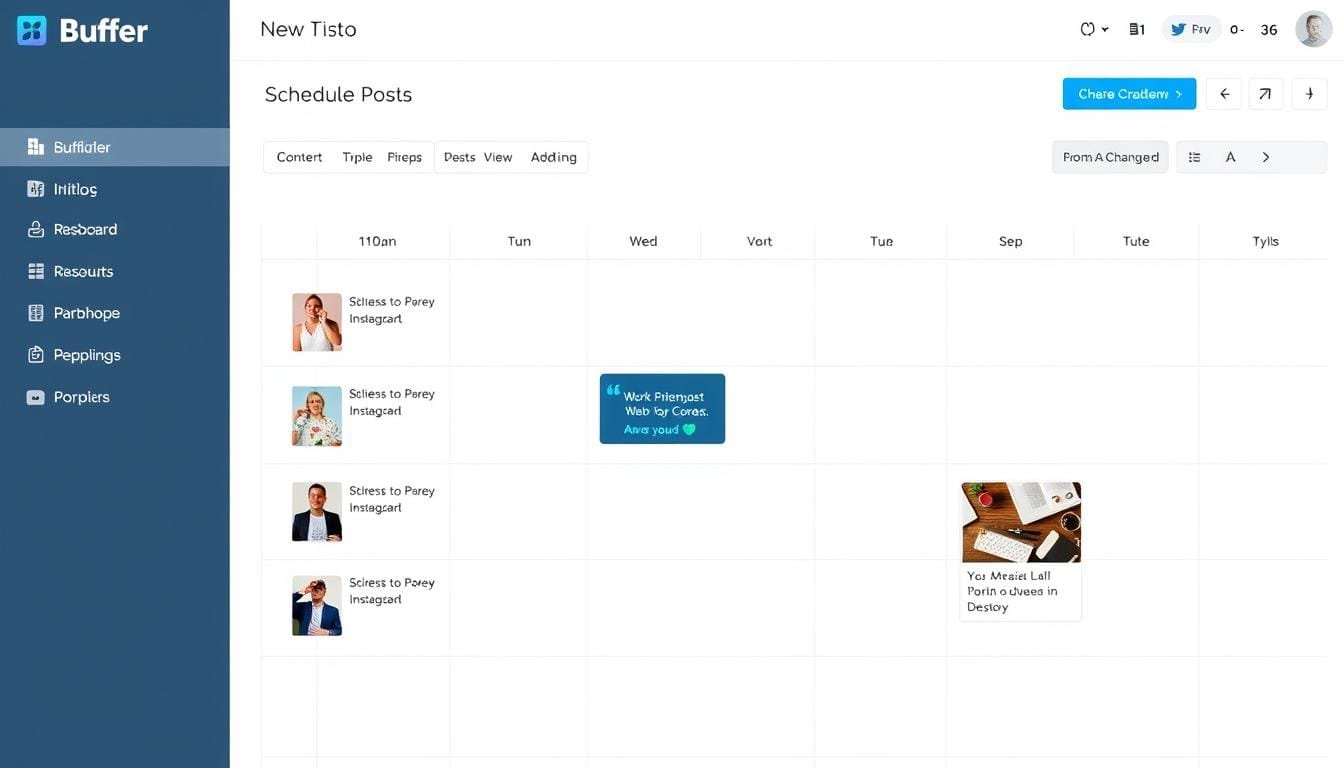
Buffer’s free plan offers a surprisingly robust set of features that can transform your social media workflow. Whether you’re a small business owner, a content creator, or just looking to streamline your personal accounts, this step-by-step guide will show you how to make the most of Buffer without spending a dime.
Why Schedule Social Media Posts with Buffer?
Before diving into the how-to, let’s look at why Buffer’s free plan is worth your time:
Time Efficiency
Schedule a week’s worth of content in one sitting instead of logging in multiple times daily. Buffer’s queue system lets you prepare posts in advance and automatically publishes them at your scheduled times.
Consistent Posting
Maintain a regular posting schedule even when you’re busy or away. Buffer ensures your social channels stay active without requiring your constant attention.
Cross-Platform Publishing
Manage up to three social channels from one dashboard on the free plan. Customize each post for different platforms while working from a single interface.
Basic Analytics
Track how your posts perform with simple engagement metrics, helping you understand what content resonates with your audience.
Ready to streamline your social media?
Create your free Buffer account and start scheduling posts in minutes. No credit card required.
Create Free Buffer Account
Buffer Free Plan: What’s Included
Before we get into the step-by-step process, let’s clarify what you get with Buffer’s free plan:
| Feature | Free Plan Limit |
| Social Channels | Up to 3 channels |
| Scheduled Posts | 10 per channel (30 total) |
| Posting Schedule | Unlimited time slots |
| Link Shortening | Included (buff.ly) |
| Basic Analytics | Limited metrics |
| Content Creation | Text, images, links |
Now that you understand what’s available, let’s set up your account and start scheduling.
Step 1: Creating Your Buffer Free Account
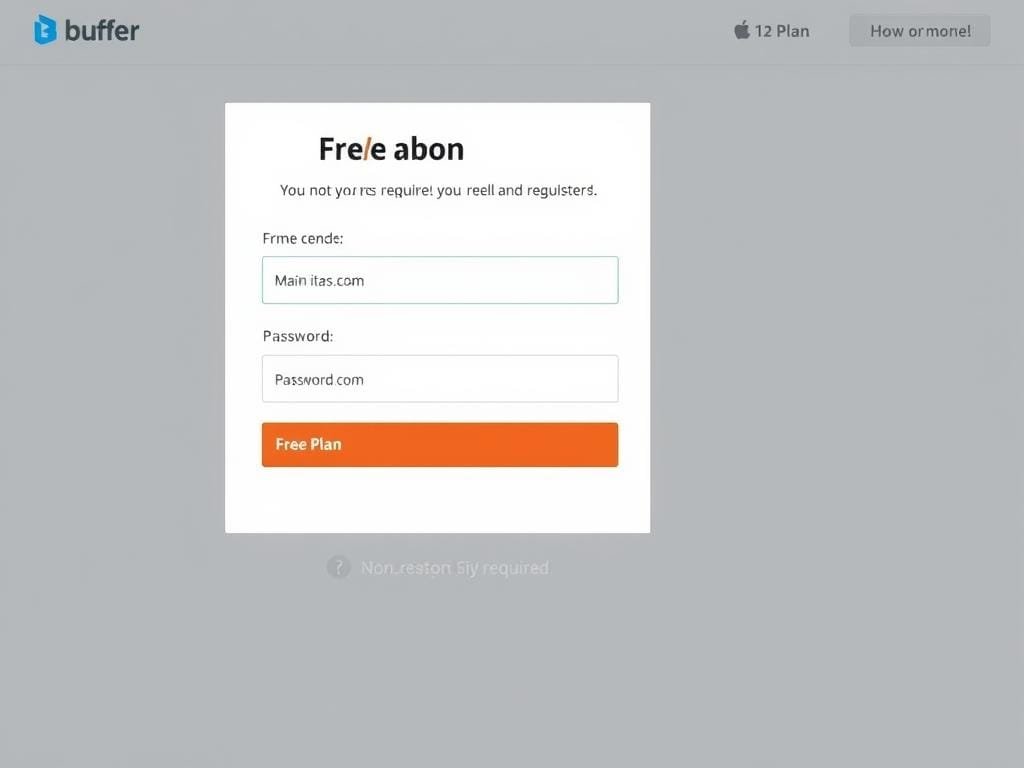
Getting started with Buffer is straightforward:
- Visit Buffer’s signup page
- Enter your email address and create a password
- Click “Sign Up” (no credit card required)
- Verify your email if prompted
After signing up, Buffer will guide you through connecting your first social media account. If you prefer to explore the dashboard first, you can skip this step and add your accounts later.
Step 2: Connecting Your Social Media Accounts
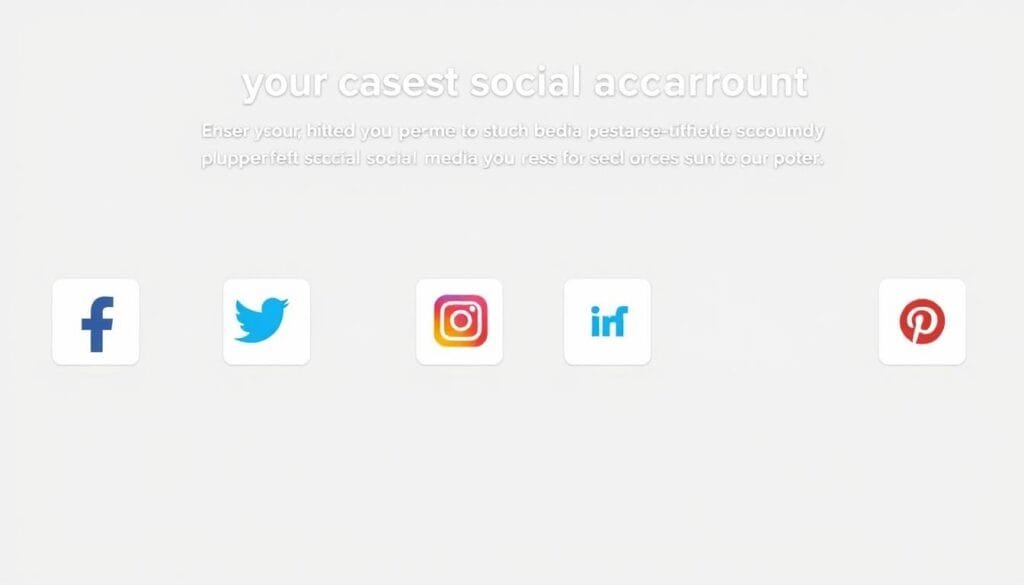
Buffer’s free plan allows you to connect up to three social media accounts. Here’s how to add them:
- From your Buffer dashboard, click on “Connect Channels” in the left sidebar
- Select the social media platform you want to connect (Facebook, Instagram, Twitter, LinkedIn, Pinterest, etc.)
- Follow the authentication prompts to grant Buffer access to your account
- Repeat for up to three accounts (choose wisely based on your priorities)
Pro Tip: For maximum efficiency, connect the three social platforms where you’re most active or that drive the most value for your brand. You can always change which accounts are connected later.
Buffer currently supports these platforms on the free plan:
- Facebook Pages
- Instagram Business
- Twitter/X
- LinkedIn Profiles
- TikTok Business
- Mastodon
- Google Business
- Threads
Step 4: Setting Up Your Posting Schedule

Before creating posts, set up your ideal posting schedule:
- Select a social account from the left sidebar
- Click “Settings” at the top of the page
- Select the “Posting Schedule” tab
- Set your timezone
- Click “Add a posting time” to create time slots
- Select days and times when you want posts to go out
- Repeat to create multiple time slots
Buffer’s free plan allows you to create as many time slots as you want, but remember you can only have 10 posts in your queue per channel at any time.
These time slots create your posting queue. When you add content to Buffer, it will automatically fill these slots in chronological order unless you specify a custom time.
Step 5: Creating and Scheduling Posts
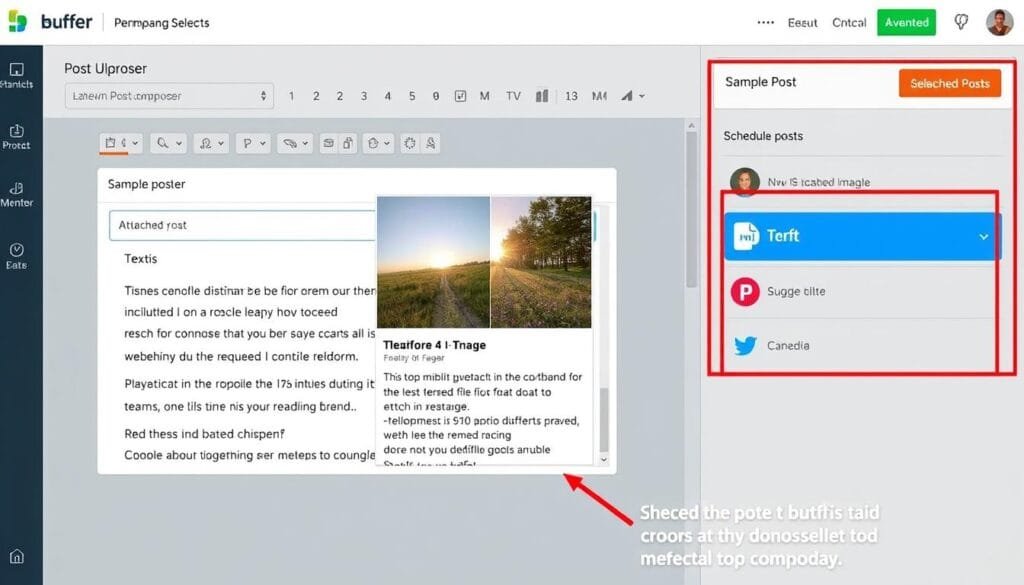
Now for the fun part—creating and scheduling your content:
- From your dashboard, click the “Create Post” button in the top right
- Select which social accounts to post to by clicking their icons at the top
- Write your post in the composer
- Add media (images, videos) by clicking the image icon or dragging files
- Add links if needed (they’ll be automatically shortened)
- Click “Customize for each network” to tailor your post for different platforms
- Choose when to publish:
- Add to Queue: Uses the next available time slot
- Share Now: Posts immediately
- Schedule Post: Pick a specific date and time
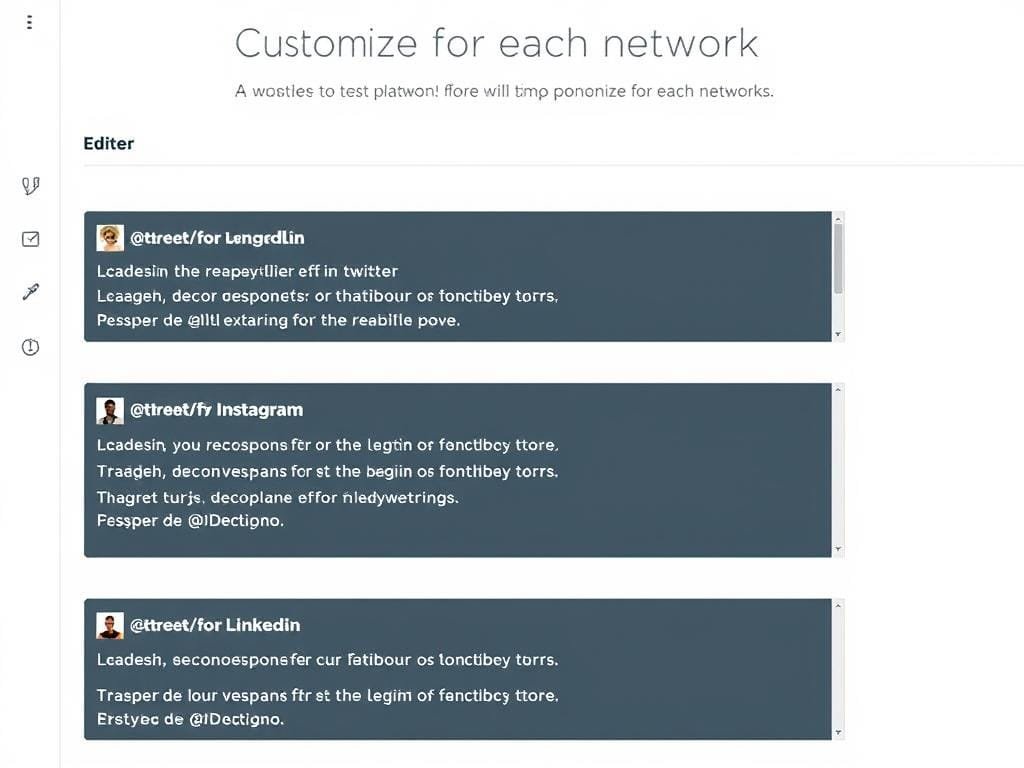
Platform-Specific Customization
One of Buffer’s most powerful features is the ability to customize each post for different platforms:
- Twitter/X: Keep under 280 characters, use relevant hashtags
- Instagram: Can use more hashtags, focus on visual content
- LinkedIn: More professional tone, longer text if needed
- Facebook: Conversational tone, questions work well
Free Plan Tip: With only 10 scheduled posts per channel, focus on quality over quantity. Create engaging posts that encourage shares and comments to maximize your reach.
Step 6: Managing Your Content Queue
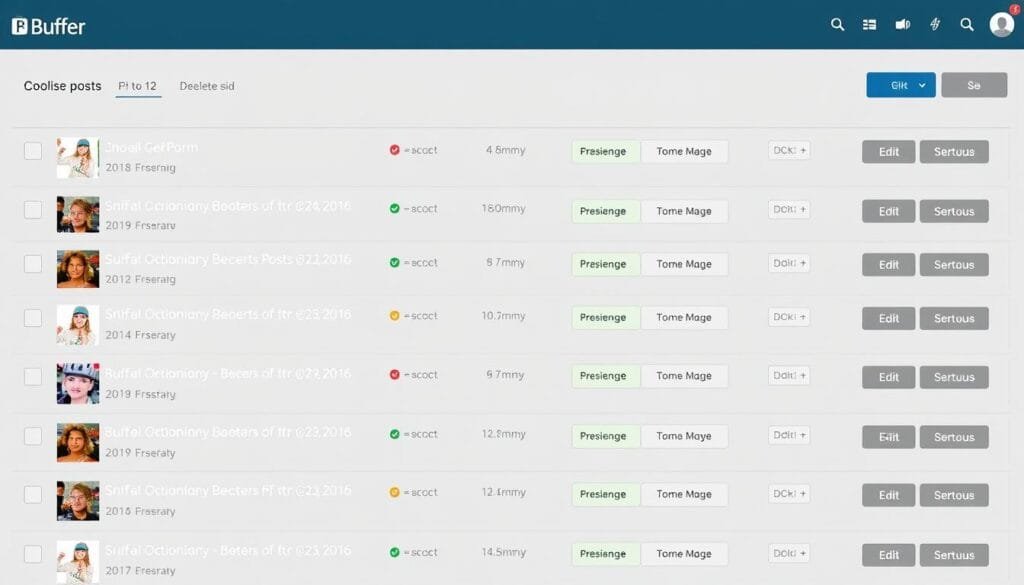
After scheduling posts, you’ll want to manage your queue:
- View Queue: See all scheduled posts in chronological order
- Edit Posts: Click the three dots next to any post to edit or delete it
- Rearrange: Drag and drop posts to change their order (on paid plans)
- Calendar View: Click “Calendar” to see posts in a calendar format
Remember that on the free plan, you’re limited to 10 scheduled posts per channel at any time. Once a post is published, that slot becomes available again.
I find it helpful to set aside time each week to review my Buffer queue, ensuring my content is still timely and relevant before it goes out.
Step 7: Using Buffer’s Free Analytics
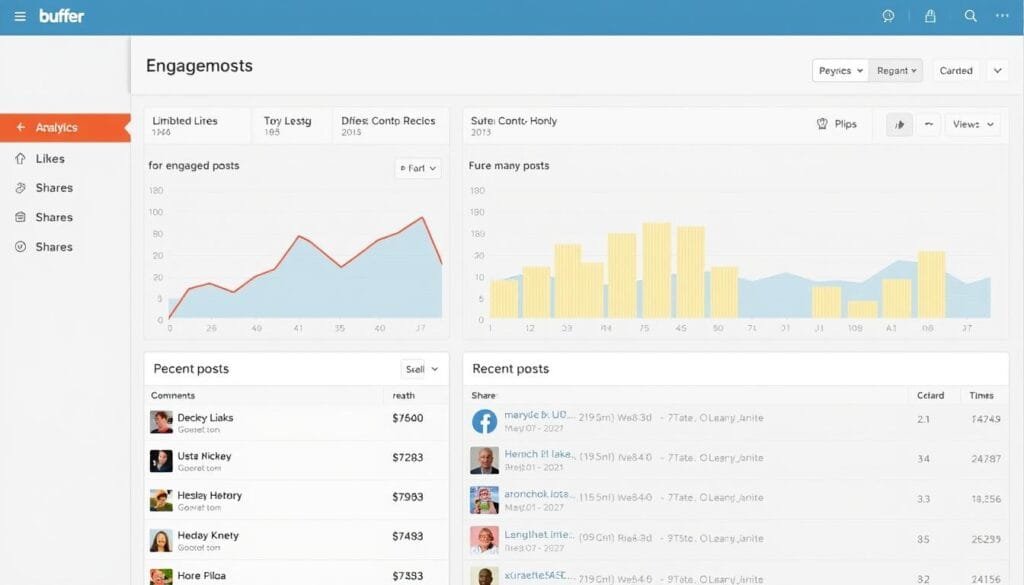
While limited compared to paid plans, Buffer’s free analytics can still provide valuable insights:
- Click on “Analytics” in the left sidebar
- Select the social account you want to analyze
- View basic metrics like engagement and reach
- See which posts performed best
Use these insights to inform your future content strategy. Pay attention to:
- Which types of content get the most engagement
- Best times for engagement (to refine your posting schedule)
- Topics that resonate with your audience
Analytics Workaround: Since free plan analytics are basic, consider supplementing with the native analytics from each social platform for more detailed insights.
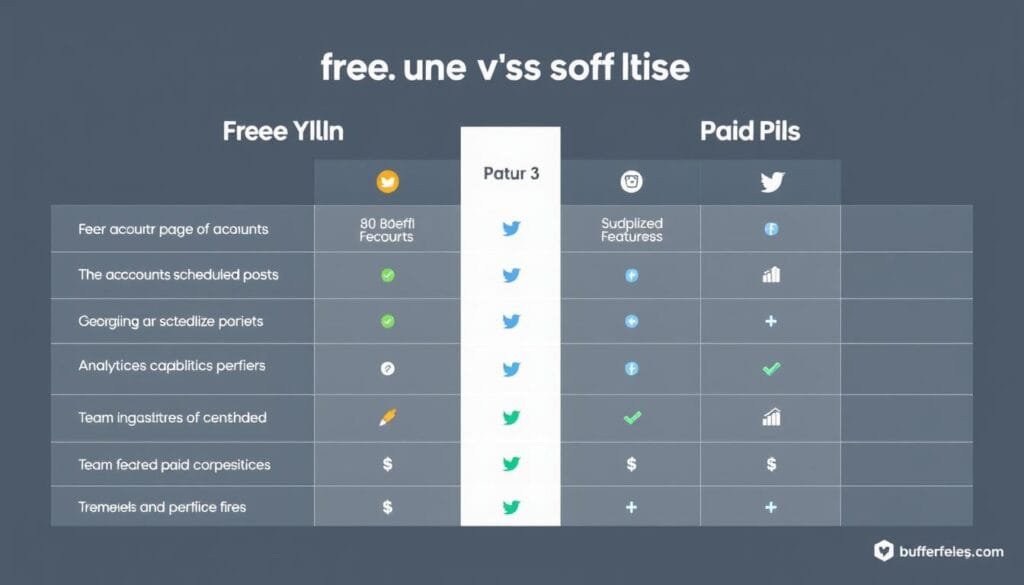
Buffer Free Plan: Limitations and Workarounds
Free Plan Advantages
- Connect up to 3 social accounts
- Schedule 10 posts per account
- Basic analytics
- Link shortening
- Image and video uploads
- Customization for each platform
Free Plan Limitations
- Only 10 posts per channel
- No Pinterest scheduling
- Limited analytics
- No first comment scheduling
- No team collaboration
- No content calendar
Practical Workarounds
Here are some strategies to maximize the free plan:
- Rotating Accounts: If you manage more than three accounts, rotate which ones are connected based on priorities
- Batch Scheduling: Set aside weekly time to refill your queue as posts publish
- Content Recycling: Keep a spreadsheet of your best-performing posts to reuse when appropriate
- Complementary Tools: Use free tools like Canva for graphics and Google Analytics for deeper metrics
Tips for Optimizing Your Buffer Free Plan

Make the most of your limited free plan slots with these optimization strategies:
Content Planning
Create a content calendar to plan your most important posts in advance. Focus on quality over quantity, ensuring each of your 10 slots contains high-value content.
Timing Optimization
Experiment with posting times to find when your audience is most active. Buffer’s limited analytics can help identify patterns to refine your posting schedule.
Cross-Platform Adaptation
Use the “Customize for each network” feature to tailor content for each platform’s unique audience and format requirements instead of posting identical content everywhere.
Content Ideas to Maximize Engagement
With limited posting slots, prioritize these high-engagement content types:
- Questions and polls to encourage audience participation
- Behind-the-scenes content to build authentic connections
- User-generated content to foster community
- Timely, trending topics relevant to your niche
- Educational content that provides value to your audience
Is Buffer’s Free Plan Right for You?
Buffer’s free plan is ideal for:
- Individuals managing personal social media
- Small businesses or startups with limited social presence
- Content creators just starting to build an audience
- Anyone wanting to test social media scheduling before investing in paid tools
While it has limitations, Buffer’s free plan offers significant value for streamlining your social media workflow. The ability to schedule posts across three platforms, customize content for each network, and access basic analytics makes it a powerful tool even without paying.
As your social media presence grows, you might eventually need more features like additional accounts, more scheduled posts, or team collaboration. At that point, Buffer’s paid plans start at just $6 per social channel per month.
Ready to save time on social media?
Start scheduling your posts with Buffer’s free plan today. No credit card required, and you can upgrade anytime if you need more features.
Have you tried Buffer or other social media scheduling tools? Share your experience in the comments below, or follow our blog for more social media management tips and tutorials.
